This video is about the dualism of referencing. Get the free Referencing Cheatsheet here: https://go.mastering.com/reference-cheatsheet-ut-vsl?el=youtubeorganic
—
0:00-1.16 Intro
1.16-2:02 Philosophy of Referencing
2:02-3:18 Properly set up References
3:18- 15:11 Beginner Referencing
15:11-18-57 Expert Referencing
18:57-20:53 Mixing vs mastering Referencing
The fate of your mix has already been decided when you start the mixing process. Just the same way, that if I was a sculptor, the statue that I’m going to make out of this block of marble is constrained by the block itself. I can’t create a really big statue out of this, and I can’t create a statue that doesn’t match the dimensions of this block.
Yet all the time, people take a set of recordings or tracks that they have, and when they get to the mixing and mastering process…
They try and make it into something that it’s not, and they end up with a garbled mess.
They try to get their track to sound exactly the same as their references, when their reference tracks are different songs, made in a different place, in a different time… and the sonic building materials are in no way the same.
And that’s what I want to focus on in this lesson. If you’re struggling to achieve the sound in your head, and you feel completely deflated when you compare your mix to other mixes out there… then watch until the very end, because I’m going to give you a complete roadmap for bridging the gap between your track, and your reference tracks.
There are 3 core areas that we’re going to focus on today.
– The best way to use references (from a technical standpoint)
– Beginner vs expert referencing
– Mixing vs mastering referencing
—
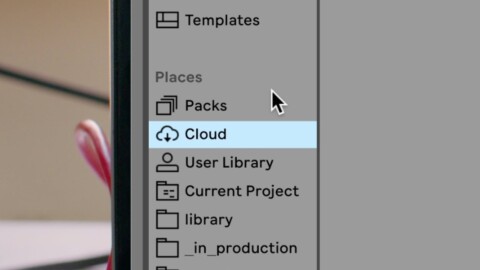
HOW TO USE TIDAL FOR REFERENCING
Here’s a step-by-step breakdown of how you do this using Loopback, and the process is going to be essentially the same with Source Nexus.
Step 1 – check that the default Loopback Audio setup looks like this with NO MONITORING devices setup.
Step 2 – set this as the audio output of your computer.
Step 3 – open TIDAL and start playing some music. You won’t hear it yet.
Step 4 – Open your DAW and set the input to Loopback Audio.
Step 5 – create a new channel, label it as Reference, hit record arm and make sure monitoring is turned on in your DAW. You should now hear the music.
Step 6 – if you have any processing on your mix buss, you’ll have to move that to a new stereo buss so that this processing isn’t being applied to your reference channel.
Step 7 – add a VU or RMS meter to the stereo output so you can volume match the reference track to your mix – this is important and you should always try to volume match your references to the track you’re working on. I like the Klanghelm VU meter, but you can use whatever you want.
And that’s it – now you can use anything you want as a reference without having to find and download lossless audio files.
Tags: audio audio production Mixing mixing tips mixing tutorial